The subscriber plugin is the right tool to include forms to subscribe/unsubscribe within the Joomla article content. The following instructions are not related to the subscriber module (see the separate article for Subscriber Module).
- Create a new Article in the Article Manager
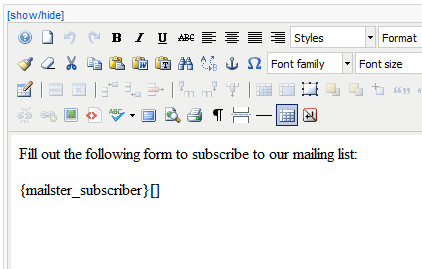
- Enter {mailster_subscriber}[] as the text (see image)
- Save the article
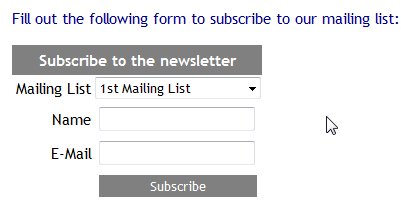
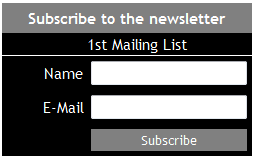
- Navigate to your site's frontend and view the new article
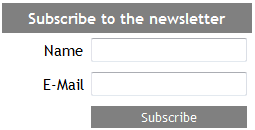
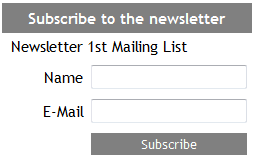
- You should see a form similar to the next image
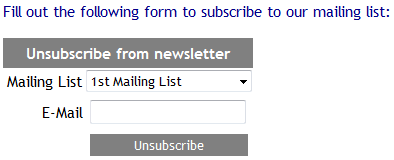
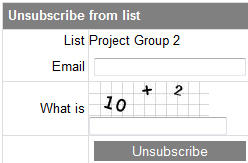
- Change the article content to {mailster_unsubscriber}[] and save it
- You should see a form similar to the image
The first method is to use the settings in the Plugin Manager of the plugin "Mailster Subscriber".
The second method is to use parameters in the article you want the form to be displayed.
Now we will have a look a the first method.
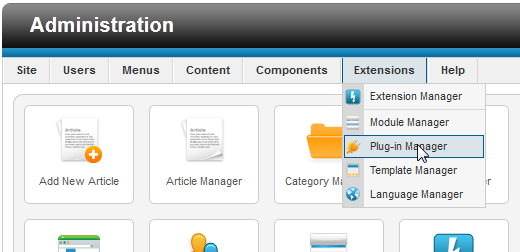
- Open the Plugin Manager
- Search for plugins named Mailster
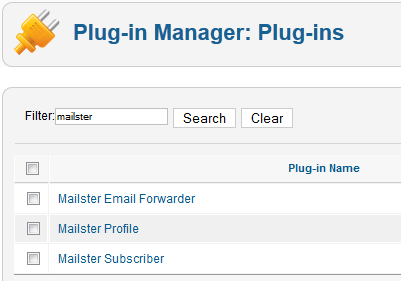
- Open the plugin Mailster Subscriber
- Make sure the plugin is enabled
- Now customize the options of the subscriber plugin
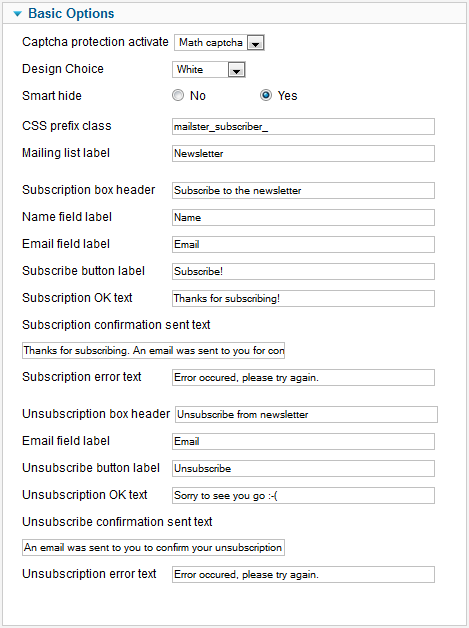
- Captcha protection: Protect your subscribe form against spam bots with a captcha protection (only in paid product editions supporting double opt-in)
- Design Choice: Mailster comes with some finished form designs, maybe one of them suits your needs.
If you don't find a good one choose "None" and use the CSS settings. - Smart hide: Hides the subscribe form if user is already subscribed. Hides unsubscribe form when user is not subscribed. Works only for logged-in Joomla users.
- CSS prefix class: This string will be the prefix to all classes used in the forms only if "Design Choice" is set to "None"
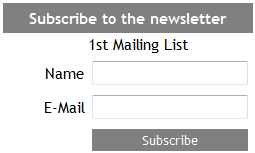
- Mailling List Label: Label for the name of the mailing list(s) (in subscribe and unsubscribe form)
- Subscribe Header: Headline of the subscribe form
- Subscribe Name Label: Label of the name field in the subscribe form
- Subscribe Email Label: Label of the email field in the subscribe form
- Subscribe Button Label: Label on the submit button in the subscribe form
- Subscription Ok Text: The text that is displayed after the user has successfully subscribed
- Subscription confirmation sent text: The text that is displayed after the user has subscribed and when double opt-in subscription is active (only in paid product editions supporting double opt-in)
- Subscription Error Text: The text that is displayed when the subscription failed for some reason
- Unsubscribe Header: Headline of the unsubscribe form
- Unsubscribe E-Mail Label: Label of the email field in the unsubscribe form
- Unsubscribe Button Label: Label on the submit button in the unsubscribe form
- Unsubscription Ok Text: The text that is displayed after the user has successfully unsubscribed
- Unsubscribe confirmation sent text: The text that is displayed after the user has unsubscribed and when double opt-in unsubscription is active (Mailster Professional only)
- Unsubscription Error Text: The text that is displayed when the unsubscription failed for some reason
 You need parameters to determine the mailing list that is used for subscription/unsubscription. Other than that you can design subscribe/unsubscribe forms that look different to the normal ones you defined in the Plugin Manager.
- Open the article with the subscribe/unsubscribe string (see Quick Start)
- Change the line to the following: {mailster_subscriber}[id:1|headerTxt:Join us|buttonLabel:Alright, subscribe me]
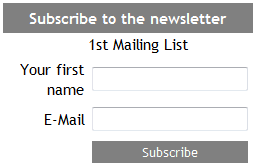
- View the article output in the frontend, it should like similar as shown here:
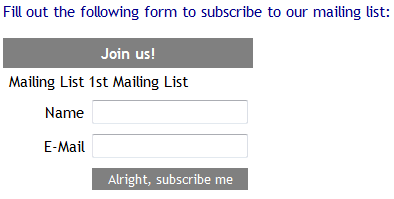
- The used parameters:
- id: The ID number of the mailing list, you can see it in the mailing list overview
- headerTxt: Headline of the form
- buttonLabel: The text on the submit button
This section gives your an overview of the settings you can control with the subscriber plugin's parameters.
To display a subscriber form an article has to contain the line
or, for an unsubscriber form,
<params> are optional parameters that can be used to determine the mailing list in question and to customize the form output. Parameters consist of key-value-pairs separated by the the pipe symbol (e.g. key1:value1|key2:value2|key3:value3 ).
To determine the mailing list used for (un)subscription you can either use the id parameter or the list parameter:
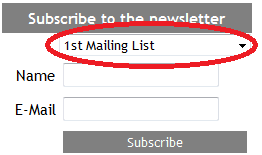
If you want the user to choose the mailing list (by a dropdown box) you don't supply the id or the list parameter. Then all published lists that allow registration are available for choice.
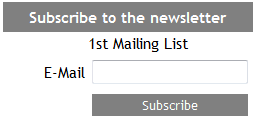
You can also hide the name of the mailing list:
If you don't require the subscriber's name you can hide the name field:
To customize the output of the (un)subscribe form you can provide various parameters. For example you can try:
The following table explains all available parameters (all of them are optional):
(*) Essential, Business and Ultimate only| Parameter | Description | Example |
|---|---|---|
| add2Group | Automatically add users to the Mailster user group provided, when they subscribe. Provide the group's ID. |
{mailster_subscriber}[ id : 1 | add2Group : 2 ]
|
| buttonTxt | Text on the submit button |
{mailster_subscriber}[ id : 1 | buttonTxt : Crazy Button! ]
 |
| captcha (*) | Use a captcha to secure your form against spammers and bots (available: recaptcha, mathcaptcha) |
{mailster_subscriber}[ id : 1 | captcha : recaptcha ]
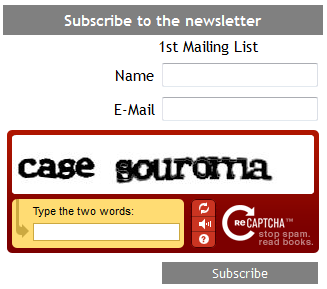
{mailster_subscriber}[ id : 2 | captcha : mathcaptcha ]
|
| css | CSS Prefix of all used CSS classes - don't use with designChoice parameter |
{mailster_subscriber}[ id : 1 | css : my_css_prefix_ ]
|
| Parameter | Description | Example |
|---|---|---|
| designChoice | Choose one predefined design (available: white, black, red, blue) |
{mailster_subscriber}[ id : 1 | designChoice : black ]
 |
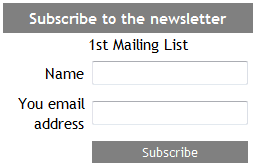
| emailLabel | Label of the email field |
{mailster_subscriber}[ id : 1 | emailLabel : Your email address ]
 |
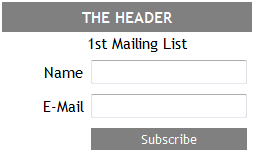
| headerTxt | Headline of the form |
{mailster_subscriber}[ id : 1 | headerTxt : THE HEADER ]
 |
| hideList | Hide the mailing list name, use yes as the value (hideList:yes) |
{mailster_subscriber}[ id : 1 | hideList : yes ]
 |
| hideName | Don't require a subscriber name, use yes as the value (hideName:yes) |
{mailster_subscriber}[ id : 1 | hideName : yes ]
 |
| Parameter | Description | Example |
|---|---|---|
| id | ID of the mailing list |
{mailster_subscriber}[ ]
{mailster_subscriber}[ id : 1 ]
 |
| listLabel | Label of the mailing list name |
{mailster_subscriber}[ id : 1 | listLabel : Newsletter ]
 |
| nameLabel | Label of the user name field |
{mailster_subscriber}[ id : 1 | nameLabel : Your first name ]
 |
| smartHide | Hide subsribe form when already subscribed, hide unsubscribe form when not yet subscribed (smartHide:yes) |
{mailster_subscriber}[ id : 1 | smartHide : yes ]
|
| submitTxt | Text to display after successful (un)subscription |
{mailster_subscriber}[ id : 1 | submitTxt : Thank you for subscribing! ]
|
| Parameter | Description | Example |
|---|---|---|
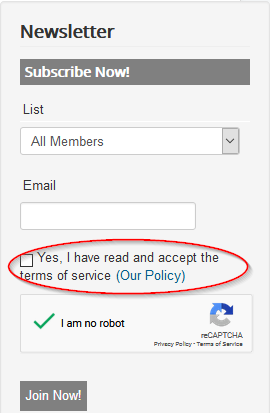
| requireTerms | Require terms of service approval. Adds a checkbox and a text the user has to accept to (by clicking the checkbox) in order to subscribe. See also the following parameter termsLabel, termsLinkLabel and termsLinkUrl. |
{mailster_subscriber}[ requireTerms: yes ]
|
| termsLabel | Label of the terms of service approval request |
{mailster_subscriber}[ requireTerms: yes | termsLabel: Yes, I have read and accept the terms of service ]
|
| termsLinkLabel | Label of the link pointing to the terms of service |
{mailster_subscriber}[ requireTerms: yes | termsLabel: Yes, I have read and accept the terms of service | termsLinkLabel: (Our Policy) ]
|
| termsLinkUrl | URL of the link pointing to the terms of service |
{mailster_subscriber}[ requireTerms: yes | termsLabel: Yes, I have read and accept the terms of service | termsLinkLabel: (Our Policy) | termsLinkUrl: https://example.com/privacy ]
 |